|
 |
|||||||||
|
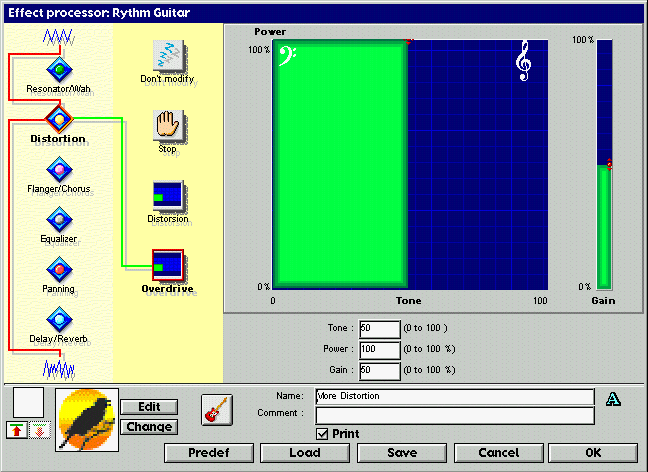
Rhythm Section Doesn´t the rhythm section miss something special? We want to add our first effect to this section. Open up the Miscellaneous tools palette and select the digital effect icon
The nice bird icon can be found by using the Change button, which is next to it. Press OK and listen to the score again. Now there is some more power to the rhythm section. Let´s see, what additional options we have to create nice effects. Melody effects Now we add a melody to the score, which will not only use the digital effects section, but also note individual effects. Add the following notes to the score in the melody staff in bars 9-12. Don´t look at the strange signs, just add the full notes.
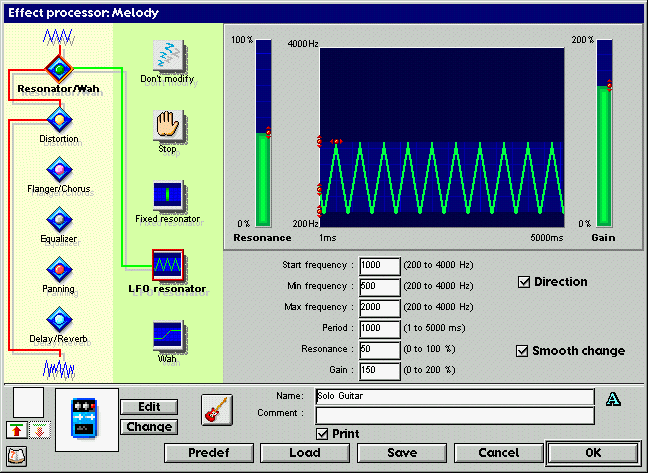
First of all, we add the digital effect. You should already know, how this works, so I only show you, what parameters you should apply to the Resonator/Wah section
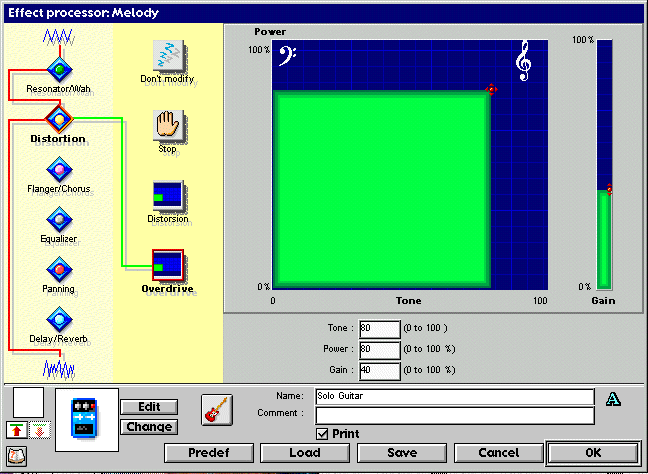
and the Distortion section
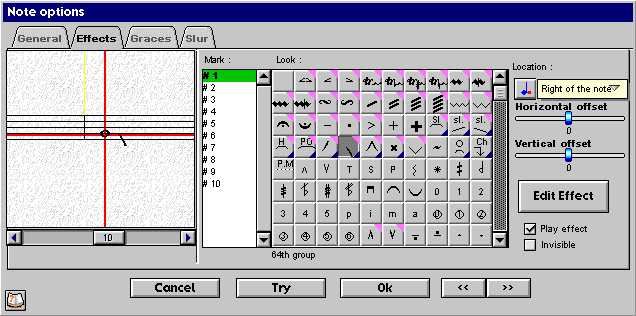
Now select the Selection tool and double-click on the first note in the Melody staff. Select the Effects tab at the top of the newly opened window. Now move your mouse over all the effect icons on the right to look at the names of all the effects. Select the Tremolo effect. You can now use the slider below the shown note to move to the other two notes, which should also get a tremolo effect. Add the tremolo effect accordingly. Now to the more interesting release effect, which is applied to the second full note in the Melody staff. The window, where you apply these changes should look similar to the following:
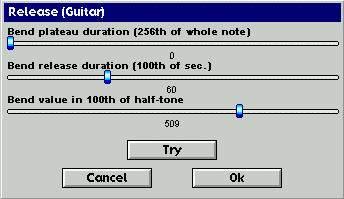
In this picture the effect is applied, but it doesn´t sound correctly if you listen to it. Therefore we use the Edit Effect button at the right to open up another window, which is shown in the following picture:
As you can see, I have changed the parameters of this effect, so that they sound more appropriate for our small score. The release duration was almost doubled and the bend value is now approx. five times the size. Please adjust the sliders accordingly. Say OK to all the open windows and listen to our score again. Sounds impressing, doesn´t it? Let´s move on and add a few more notes to the voice staff in order to make Melody Assistant sing for us. But one step after the other. We add some lyrics in the next part of this tutorial. |
|||||||||


